¶ Starting the Quest
This quest starts at the end of Troubadour's Trial as Sledrig reveals the location of Volgaafsonaan. Sledrig will then teleport out of Sanctuary.
Players will receive an objective to speak to Helvana, who will be waiting in Sledrig's chambers in the Bards College of Solitude.
¶ Completing the Quest
¶ Attack on the College
While speaking to Helvana, the player will have an option to tell her they aren't ready to go which will pause the quest and allow the player to go prepare.
Once the player is ready to go, they can tell Helvana. During that conversation a large crash will be heard and a Thrall of Volgaafsonaan will burst into the room and accuse the player and Helvana of threatening her master.
If the player attacks the Thrall before she finishes speaking, her dialogue may be interrupted, but this does not prevent the quest from advancing.
The player will receive an objective to fend off attackers, and will need to go throughout the college and help the others fight off the army of Thralls inside attacking.
After all of the Thralls are defeated, the player will receive an objective to speak to Helvana again.
Helvana will mention that Sledrig gave her a relic to contact him. Helvana will cast a spell for a few moments, and then explain to the player where Sledrig is and reveal the location of Chillwater Hollow - a dungeon out in the sea north of Dawnstar. Helvana will tell the player she will meet them there and head off.
The player will receive an objective to find Sledrig and an optional one to take a boat. The optional objective will lead to Branir, who will take the player by boat if asked.
¶ Chillwater Hollow
Chillwater Hollow has a series of puzzles involving Shouting and Chanting, meaning the player will need to quickly perform multiple Shouts in a row. Additional Cadence Rods will be found at various points in the dungeon for players who didn't bring one along.
Throughout this dungeon, there are also a series of bonus chests that can be reached via optional puzzles and challenges. This guide will focus on the core path, though the 2nd video walkthrough will reveal all of those optional elements.
For those that prefer to watch rather than read, skip to the video walkthroughs.
When the player first enters, Helvana will greet them and tell them Sledrig went ahead. She will then become a temporary follower, joining the player for the rest of the dungeon.
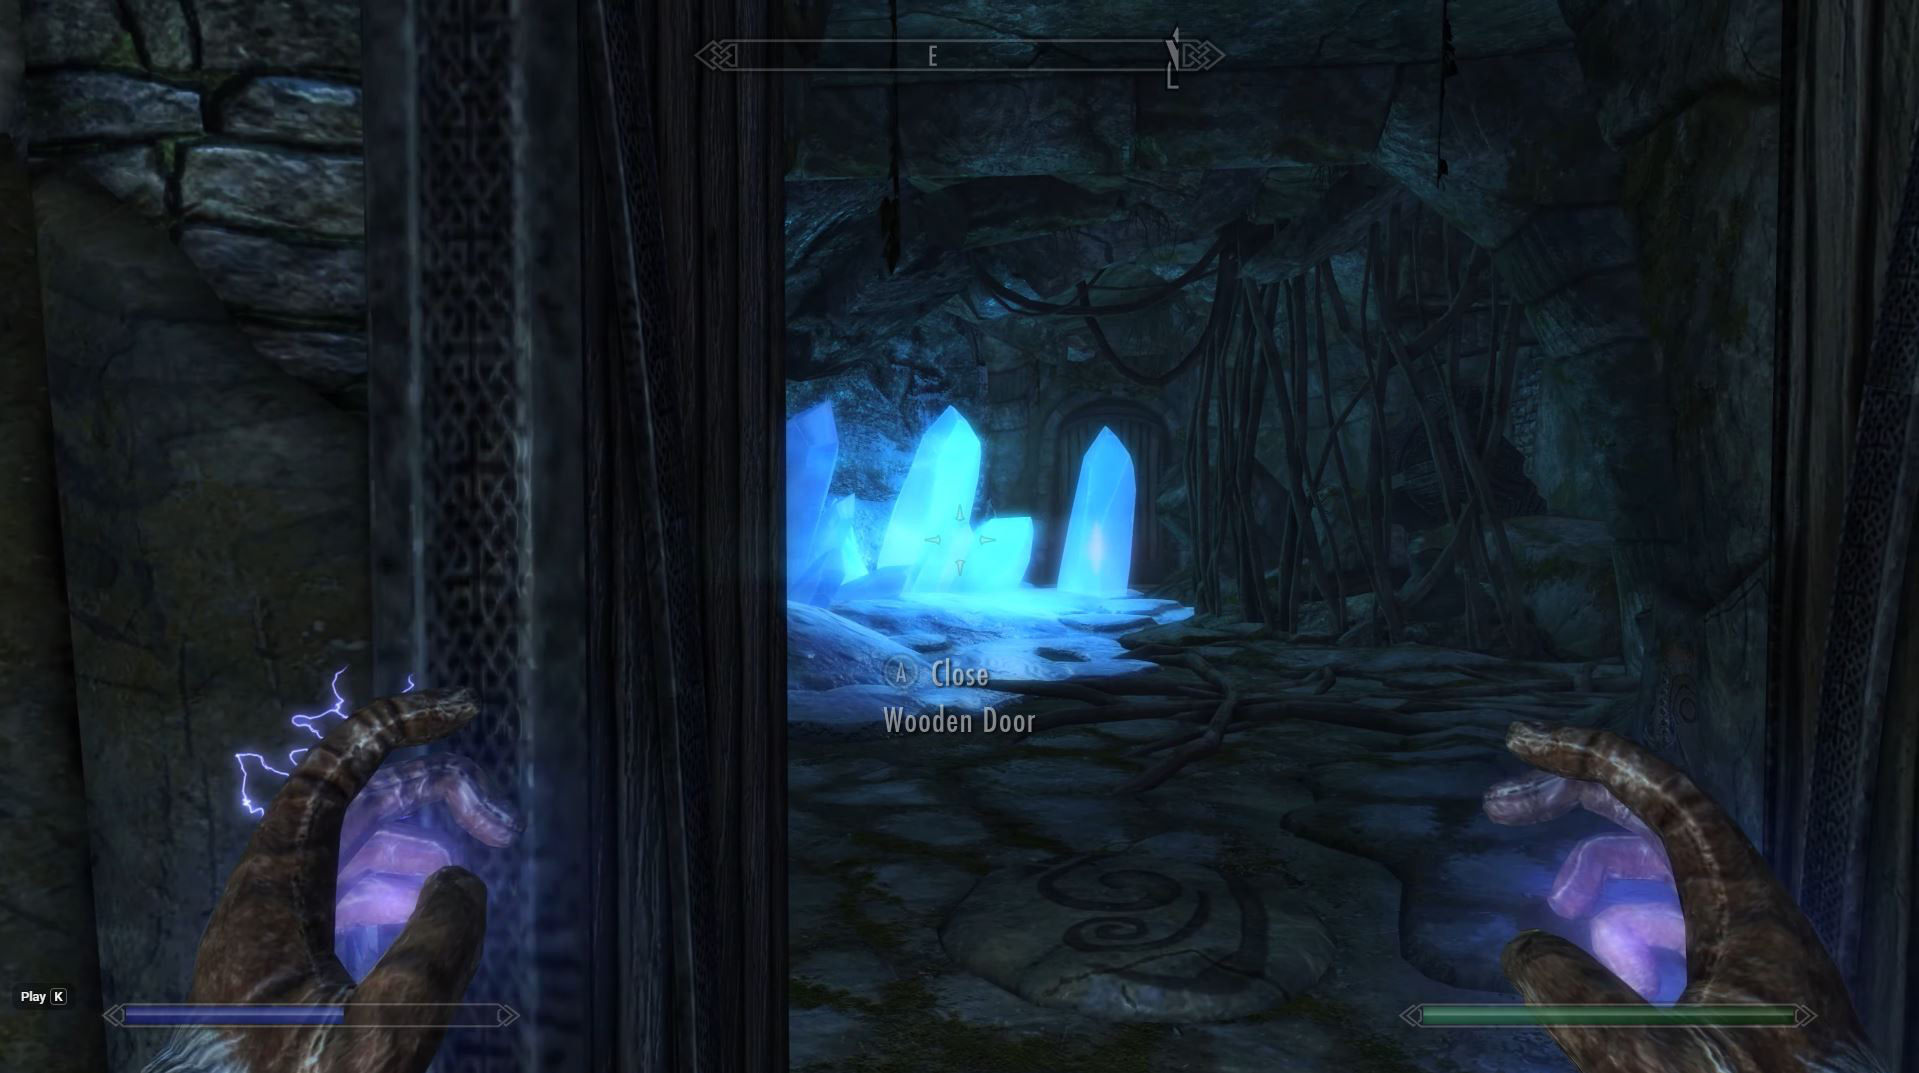
In the first room ahead, after killing a troll, the player will need to use Earthsong to break a series of crystals blocking their path to the right.
Proceeding forward through the dungeon, the player will eventually reach a room with a pressure plate on the ground that briefly opens a door in front of them that is blocked by another crystal.
The player will first need to break the crystal with Earthsong. Next, the player will need to equip the Whirlwind Sprint shout, step on the pressure plate, and quickly use Whirlwind Sprint to make it through the door before it closes.
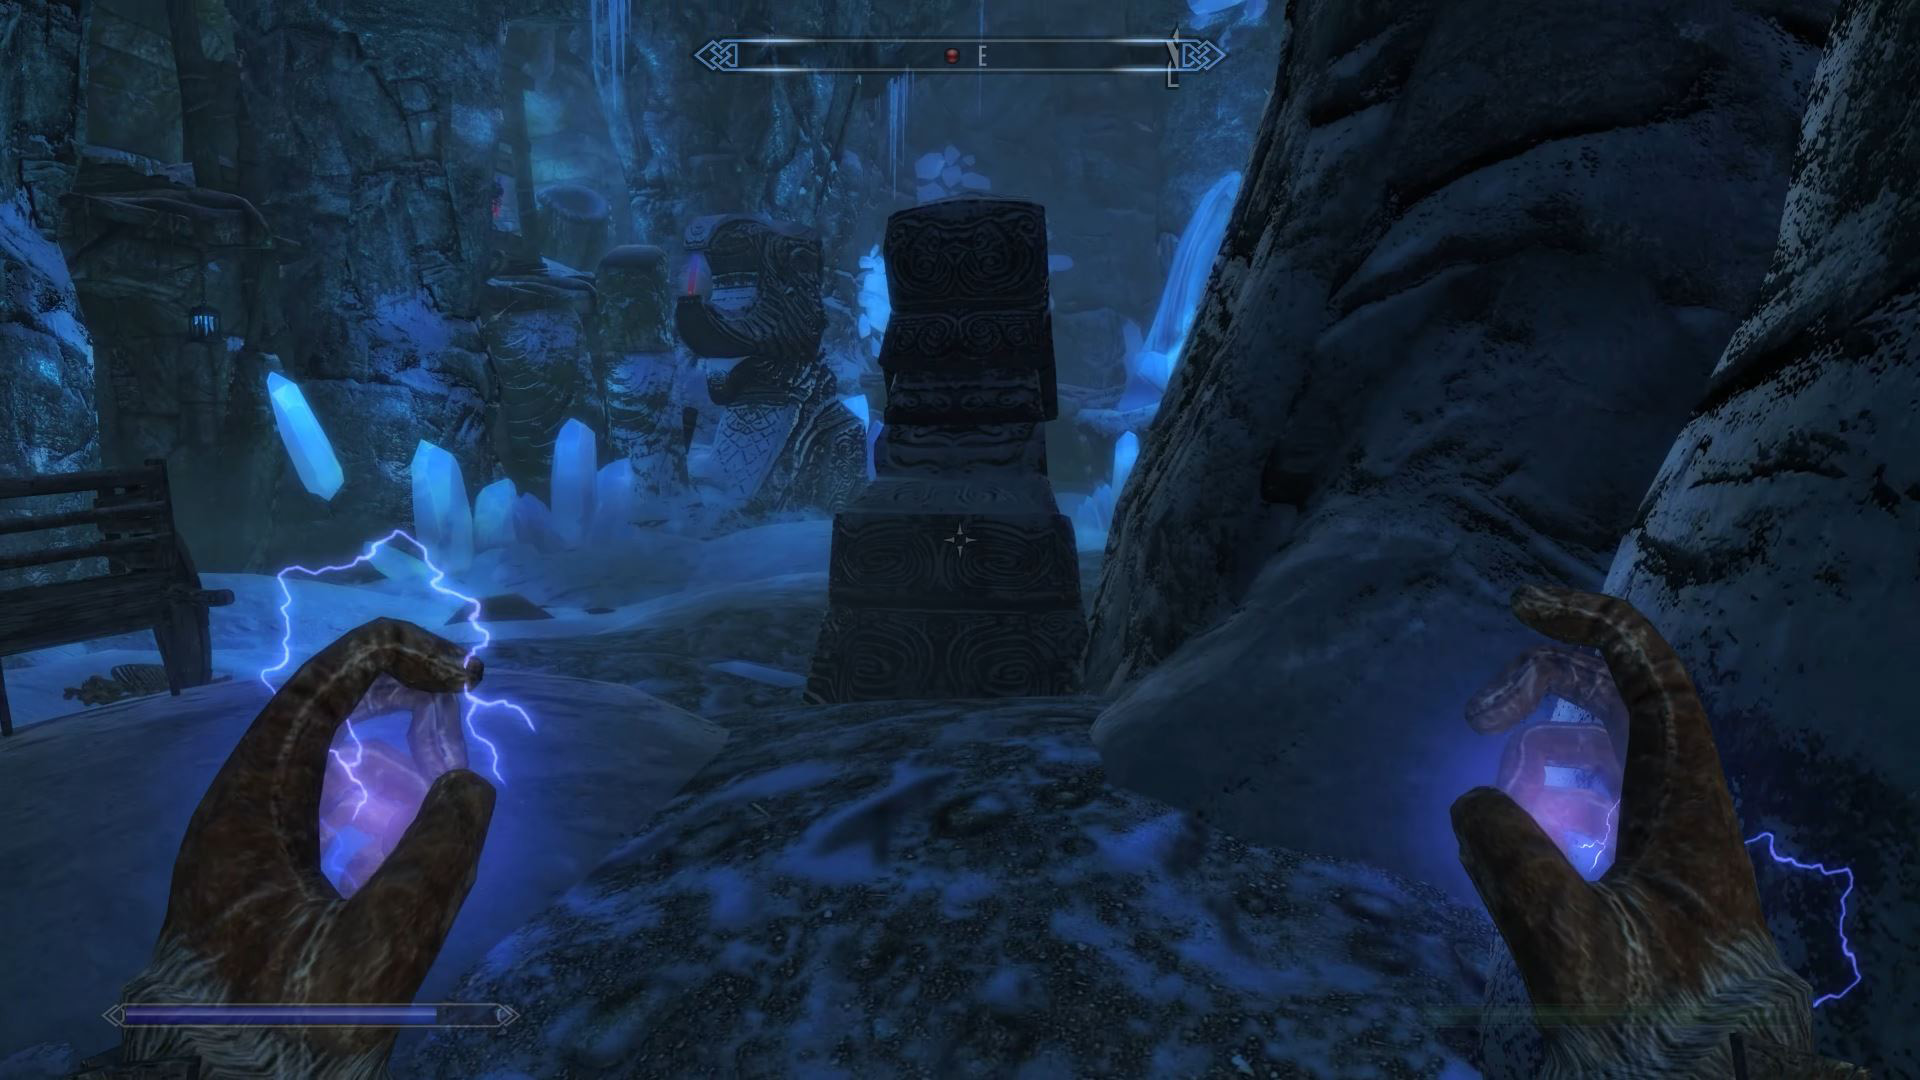
Just ahead, the player will enter a room and see a gate close in front of them as they enter. This room has a series of Resonance Crystals mounted in statues to the right.

The player will need to equip the Cadence Rod and the Chant of Ravaging, and then line themselves up so all three crystals are in a row from their perspective. Next, the player will need to use Unrelenting Force on the crystals - this will open the gate. The player will then need to quickly use the Cadence Rod to be able to use Whirlwind Sprint and make it through the gate on time before it closes.
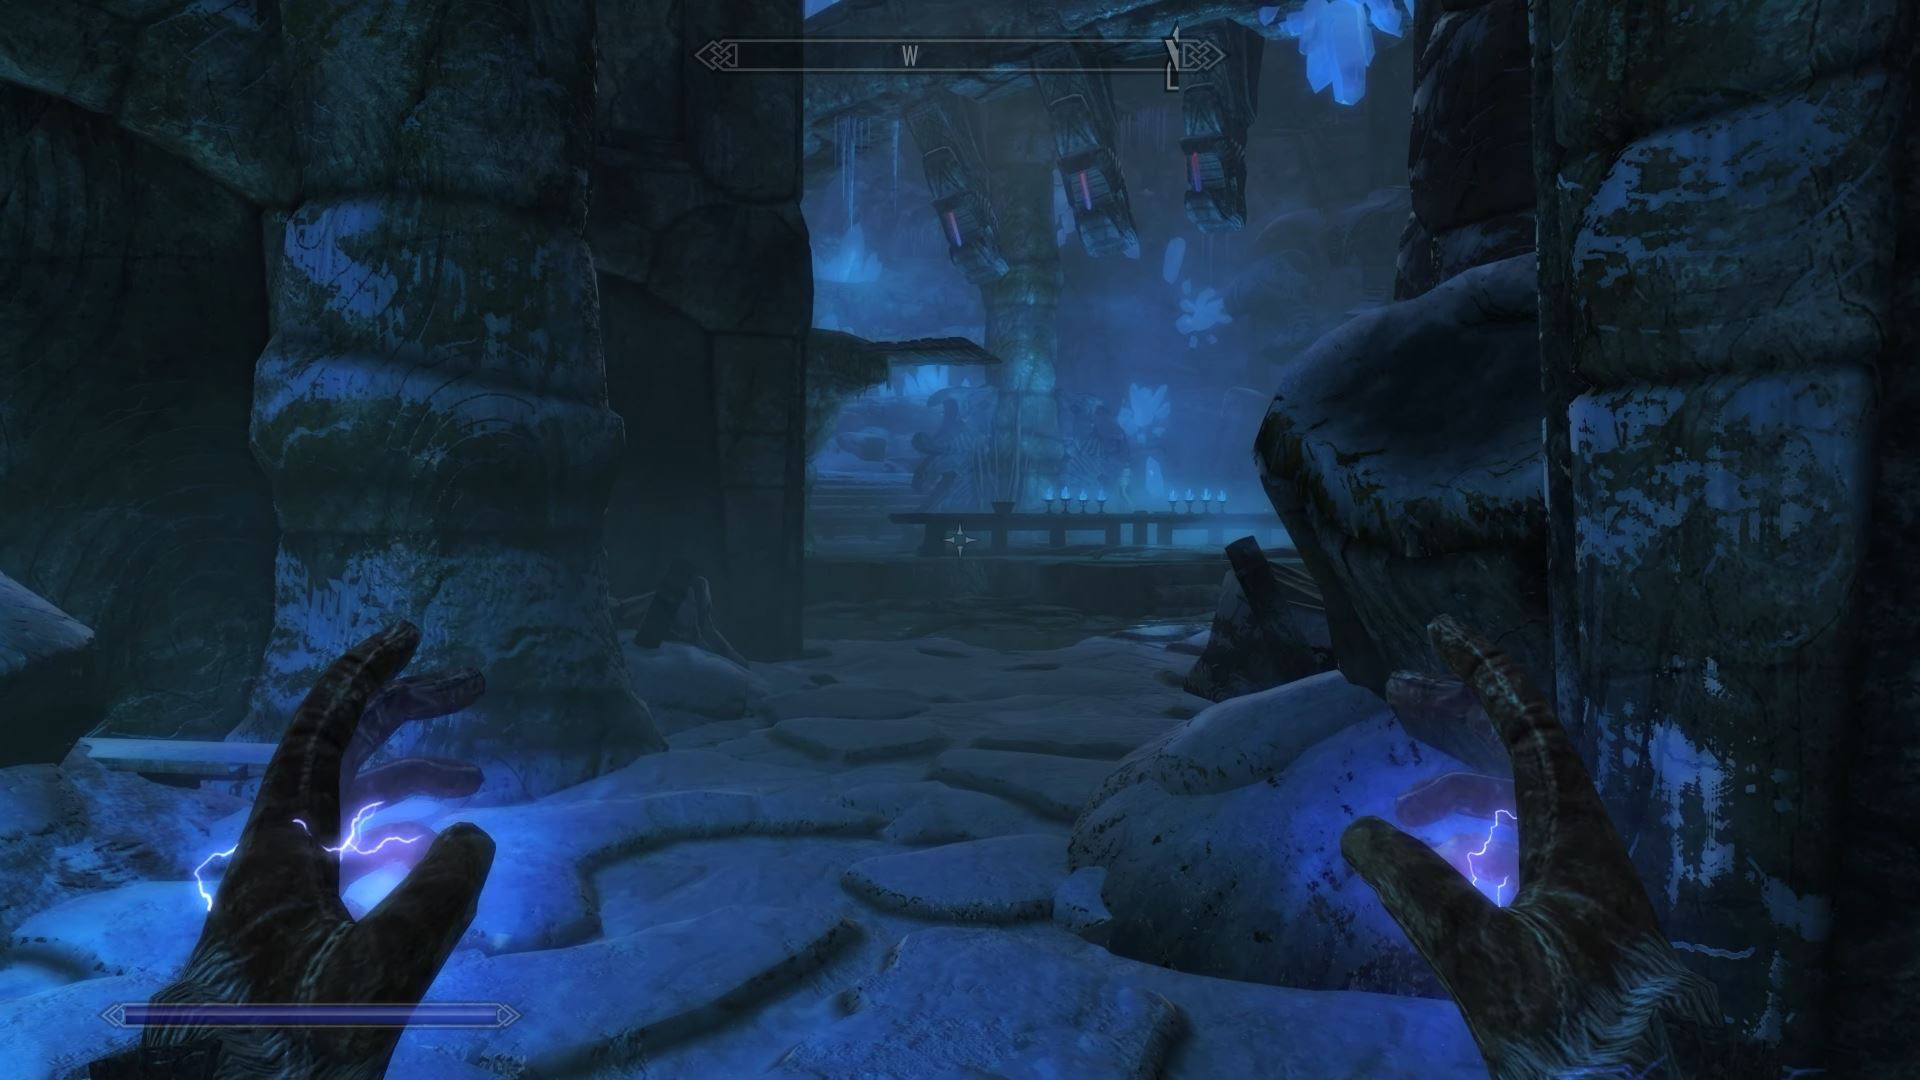
The player will next find themselves on a large stone cylinder; pulling the chain in front of them will lower it. After clearing the enemies here, and proceeding through the doorway, they will find themselves in another room with a series of Resonance Crystals mounted in statues, as well as a pit blocked with spear traps.
After clearing the enemies in the room, the player will need to take the hallway to the left from where they entered. They will then enter another room with several Thralls. After killing these enemies, they should proceed through the doorway and up the stairs at the opposite corner of where they entered the room. At the top of that stairwell, the player will find themselves in a room overlooking the three statue-mounted crystals.

The player will need to equip a Cadence Rod and the Chant of Ravaging again, and then line up their view near the opening looking down (see picture above) so that all three crystals will be hit by an Unrelenting Force shout.
Once they do, the spear trap just past them will open for a few seconds, allowing access to the hole below. The player will need to turn around and head out the door that will now be to their left which will lead them out to that hole, to make it in time, the player will need to use the Cadence Rod and then Whirlwind Sprint.
At the bottom of this hole, the player will see a pull-chain that will open a gate to allow them to proceed down a hallway of swinging axe traps. At the end of this hall is another chain to disable the traps and a door to proceed forward.
The next room is full of water and a few Thralls. After killing the enemies, the player will need to swim underwater to find a load door that will take them to the next part of the dungeon.
¶ Chillwater Hollow Part 2
The player will emerge in the next area still underwater and will need to swim forward to find a spot to emerge. Once they are back on ground and proceeding forward, Helvana will approach from behind and ask the player to hold.
If the player engages in the conversation, they can learn more about Helvana's background and set up the opportunity for an alternate ending (assuming the player helped Helvana with the side quest Resonance at the end of the previous dungeon).
After finishing speaking with Helvana, the player can proceed forward through the room, at the end of which they will find a lift. Stepping on it traps the player inside the lift's chamber and slowly lifts them up, while channeled ice streams create a web that the player will have to avoid being hit by. Once they reach the top, they will find another cylindrical chamber next to it they can drop down through and land in some water.
After they climb out of it into yet another cylinder - this one filled with water - the only option will be to swim down, where more of the ice streams will require navigation around.
Once they reach the bottom and proceed the only way forward, avoiding more ice streams, eventually they will find themselves in another underwater cylinder; entering this will trigger a lift to rapidly push them back up out of the water.
Proceeding forward, the player will find a pull-chain to open a gate. This leads to a narrow hallway which eventually leads to a door on their left. Taking that door, they'll find themselves in a room with some hanging cages and a few Thralls and even some Draugr.
At the corner opposite of where they entered the room, they'll find a staircase with a door near the top. Through that door will be a room with more Thralls. After dispatching the enemies, the player should proceed through the large door to the right.
This will lead them to a room with some swinging axe traps and large circular cut outs in the ground that when stepped in will trigger ice streams, as well as several Draugr. After making their way through this room, they'll see a hallway ahead with a couple statues (like those that have been holding Resonance Crystals in other areas) and a door.
Following this path will lead into a large room with three Resonance Crystals mounted to statues hanging down from the ceiling. Several Thralls will need to be dealt with in this room before the player can solve the Chanting puzzle to proceed.
Near the table underneath the hanging crystals is a lever; that lever controls a lift. The player will need to position themselves on the lift, equip a Cadence Rod, and the Chant of Ravaging, and then press the lever.
This will raise the lift so that the player can line up an Unrelenting Force Shout to hit all three crystals; this will open a gate across from them. Next, they'll need to quickly use the Cadence Rod and Whirlwind Sprint to make it across the gap and land on the platform in front of them near the third crystal. Finally, they'll need to run forward through the gate before it closes and up a set of stairs before a horizontal gate closes.
Once in that upper area, if the player turns around, they will see a lever. Pulling that lever will open a gate next to it, as well as a gate they can see ahead of them that is back in the large room with the three crystals they just left.
The player will need to drop down and proceed through that now-open gate and down the stairwells and corridors.
This will lead the player to a doorway labeled Volgaafsonaan's Lair.
¶ Walkthrough Videos
Hidden Path Playthrough (Dungeon Plus Optional Puzzles)
¶ Facing Volgaafsonaan
Sledrig will be waiting for the player and Helvana in the next area and tell them that Volgaafsonaan is just ahead. He will look quite ragged at this point.
Once the player tells Sledrig to proceed, he'll open the seal on the door in front of him and the player can move through a narrow path forward.
The player will find themselves in a huge icy cavern with Volgaafsonaan frozen in the center at the top of a set of stairs.
Sledrig and Helvana will run ahead and position themselves near Volgaafsonaan. Sledrig will begin Shouting at the dragon. Sledrig will suggest to the player that if they use Unrelenting Force together, they can break the dragon out of the ice.
If the player had completed the side quest Resonance, Helvana will also join in saying she will help as well, surprising Sledrig.
If the player is not carrying their Resonance Crystal - Unrelenting Echo, Sledrig will hand them one.
The player will then receive an objective to use a Resonating Unrelenting Force on Volgaafsonaan. After the player does, Sledrig (and possibly Helvana) will do the same. Sledrig will call for the player to do this twice more (there is a Recharge crystal next to Volgaafsonaan to ensure this can happen quickly).
After the third set of shouts, the ice will explode, destroying the Recharge Crystal, and Volgaafsonaan will be perched in front of the player and address them.
If Volgaafsonaan is damaged just before or while he is speaking, it will trigger the fight immediately - interrupting the short dialog scene. This is meant to happen if the player wants to be aggressive.
Volgaafsonaan uses Frost Breath and has several phases to his fight.
During the fight, Helvana will help, but as Sledrig explained to the player earlier in the questline, he cannot kill Volgaafsonaan himself, so instead will be Chanting near where the Recharge Crystal was, as if lending some of his strength to the player.
¶ Phase 1
The first phase is a typical dragon fight - the dragon will fly around and attempt to hit with breath attacks from the air. Occasionally, he will land and attack from the ground using Frost Breath or biting at the player.
At any time, Volgaafsonaan can fly up to the ceiling and disappear in an explosion of energy, reappearing somewhere else a few seconds later.
¶ Phase 2
At around 70% health, Volgaafsonaan will use his disappearing trick from wherever he is. Several large crystals will burst from the ground and begin channeling energy to Volgaafsonaan - he will become ethereal, flying around the arena unable to be damaged.
The player will need to use Earthsong to destroy each of the crystals, though each one destroyed unleashes an Echo of a Frost Atronoch to fight with Volgaafsonaan.
After the crystals are destroyed, Volgaafsonaan can be damaged once more.
¶ Phase 3
At around 30% health, Volgaafsonaan will split into three humanoid echoes called Avatar of Volgaafsonaan.
¶ Phase 4
Once the Avatar's are defeated, Volgaafsonaan will reappear in dragon form and Thralls will begin flooding into the room to help him.
After the final blow, any remaining Thralls will die, and Volgaafsonaan will enter a bleedout state.
¶ Final Choice
Sledrig will come running towards the player, his true form is now revealed - he has the look of a Draugr, speaking only through his mental connection with the player.
He will ask the player to finish off Volgaafsonaan. After the conversation, Volgaafsonaan will ask to speak to the player.
Volgaafsonaan will eventually suggest the player should kill Sledrig not him.
¶ Reject the Dragon
If the player chooses "Your words are poison, dragon! I have heard enough!" option, Sledrig will speak to the player and tell him not to listen to the dragon.
¶ Listen to the Dragon
If the player allows Volgaafsonaan to speak, he will suggest the player kill Sledrig instead.
¶ Helvana's Plan
After listening to the Dragon, if the player had previously completed Helvana's side quest Resonance, Helvana will speak to the player and explain that she could act as a conduit to allow the two to restore each other's entire souls and spare both of their lives.
¶ Choosing the Ending
After speaking to everyone, Sledrig will speak to the player again and they will then receive the objective to Make a Decision.
Depending on the plans presented to them in the conversations before, there will be different options here.
| Option | Requirement | Result |
|---|---|---|
| Side with Sledrig | This is one of the default options and is always available. | Volgaafsonaan will be destroyed, and Sledrig will reward the player. |
| Side with Volgaafsonaan | The player allowed the dragon to suggest this option. | Sledrig will die, and Volgaafsonaan will reward the player. |
| Restore Sledrig and Volgaafsonaan | The player completed the side quest Resonance and allowed the dragon to speak. | Neither will die, Sledrig will be restored, and both will reward the player. |
| Empower Sledrig | The player completed the side quest Resonance and allowed the dragon to speak. This option requires a Very Hard speech check. | Volgaafsonaan will be destroyed, and Sledrig will become superhuman. He will reward the player. |
| Kill Everyone | This is one of the default options and is always available. | Both will die. |
If the player chose to restore both or to Empower Sledrig, a series of scenes will play out with souls being transferred through Helvana.
If the player chose an option that involves someone dying, they will be given the objective to deliver the killing blow(s).
Any surviving characters will then tell the player to return to them sometime soon and they'll have a reward for the player.
If the player chose the "Kill Everyone" ending, Helvana will have a final conversation. The player can try to Persuade her that both of them were evil.
Otherwise, they can tell her to leave and she will leave and the player will never see her again. Or they can choose to kill her which will trigger a fight.
Assuming any survivors, or in the "Kill Everyone" ending if Helvana was persuaded successfully, the final quest will begin 24 hours later. Otherwise, this is the end.
The player can leave through an exit in the back of the lair to find a loopback to the entrance of the dungeon.