¶ Starting the Quest
After completing "Of Songs and Shouts", a Courier will eventually approach the player and deliver the note "Letter from Sledrig".
Reading this letter will start this quest, giving the player the objective to meet with Sledrig in Sanctuary.
¶ Completing the Quest
Inside Sanctuary, Sledrig will first hand the player a tablet, and then show them how to use the Lectern to learn new Words of Power. In this case, the player will learn the first word of the new Shout "Earthsong". If the player recovered the Tablet Cypher from Haren, they will learn the 2nd word as well.
¶ Learning Chanting
Sledrig will next demonstrate a new ability - Chanting - which involves using multiple Shouts one after the other. He'll use Unrelenting Force, Whirlwind Sprint, and Earthsong, which will send him gliding around the space and eventually up above the Perk Mural inside Sanctuary.
He will then walk back down and offer to teach it to the player. After transferring the knowledge, he'll hand the player a Cadence Rod.
The player will be instructed to Shout and then use the Rod. They will be automatically equipped with the Cadence Rod and Chant of Ravaging ability - which will queue up Unrelenting Force as their current Shout.
The player will then need to perform this Chant.
To do so, the player will need to equip the Cadence Rod and the Chant of Ravaging ability (this was done for them initially, so long as they don't unequip, they can just continue to the steps:
- Use Unrelenting Force
- Use the Cadence Rod, which will reset their Shout cooldown and queue up Whirlwind Sprint at the same time
- Use Whirlwind Sprint
- Use the Cadence Rod a second time, which will reset their Shout cooldown and queue up Earthsong at the same time
- Use Earthsong
From a button push perspective this means:
- Use Shout button long enough for any number of words
- Use the attack button of the hand the Cadence Rod is in long enough to trigger a casting animation
- Use Shout button long enough for any number of words
- Use the attack button of the hand the Cadence Rod is in long enough to trigger a casting animation
- Use Shout button long enough for any number of words
Once the player has demonstrated a Chant successfully, Sledrig will tell them of a dangerous dragon named Volgaafsonaan and ask for the player's assistance in slaying it.
The player will then be given the objective to retrieve a sword.
¶ Stonesong Grotto
Stonesong Grotto has a series of puzzles throughout involving Shouts. All of the puzzles can be completed with Shouts the player is guaranteed to have at this point in the questline.
Throughout this dungeon, there are also a series of bonus chests that can be reached via optional puzzles and challenges. This guide will focus on the core path, though the 2nd video walkthrough will reveal all of those optional elements.
For those that prefer to watch rather than read, click here to skip ahead.
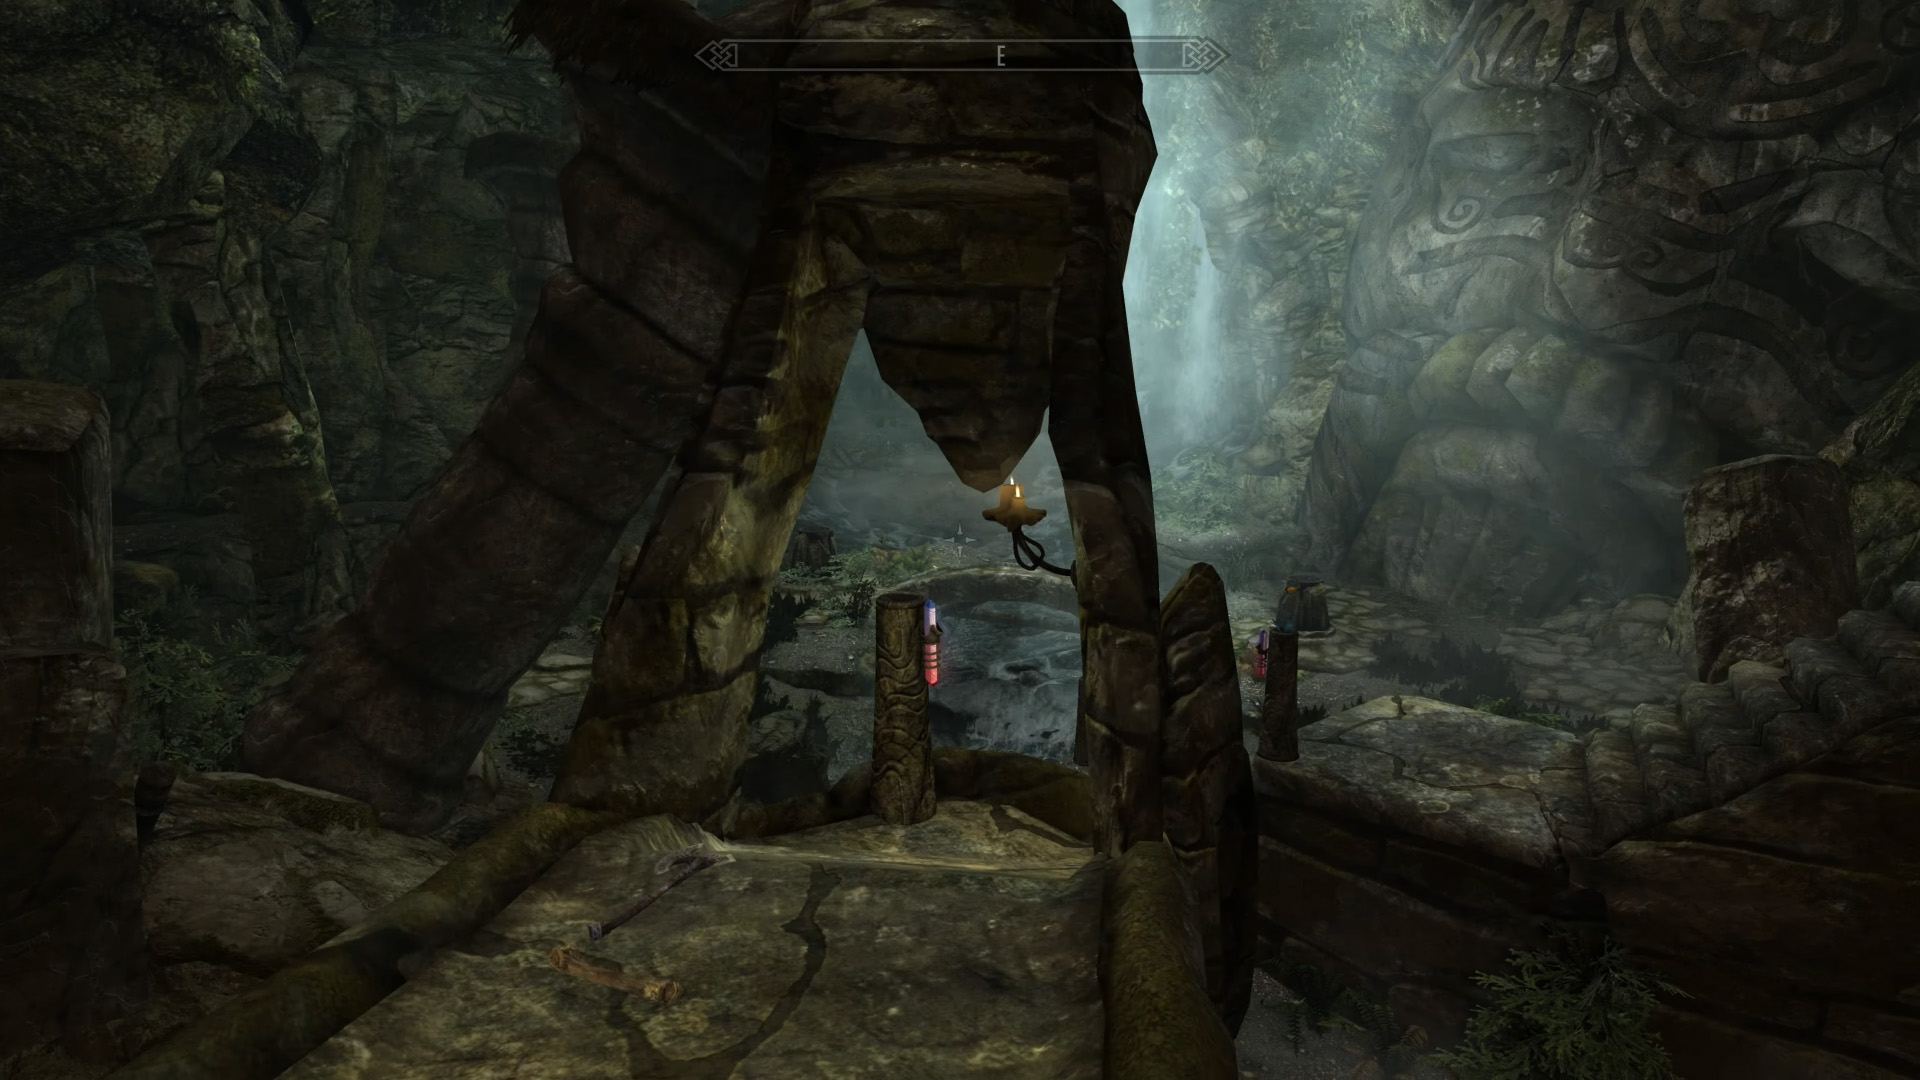
The first puzzle requires the player to stand facing the large statue head inside of the small alcove so that all three crystals are lined up in front of them, and then use Unrelenting Force. This will cause a portal to appear at the mouth of the statue.
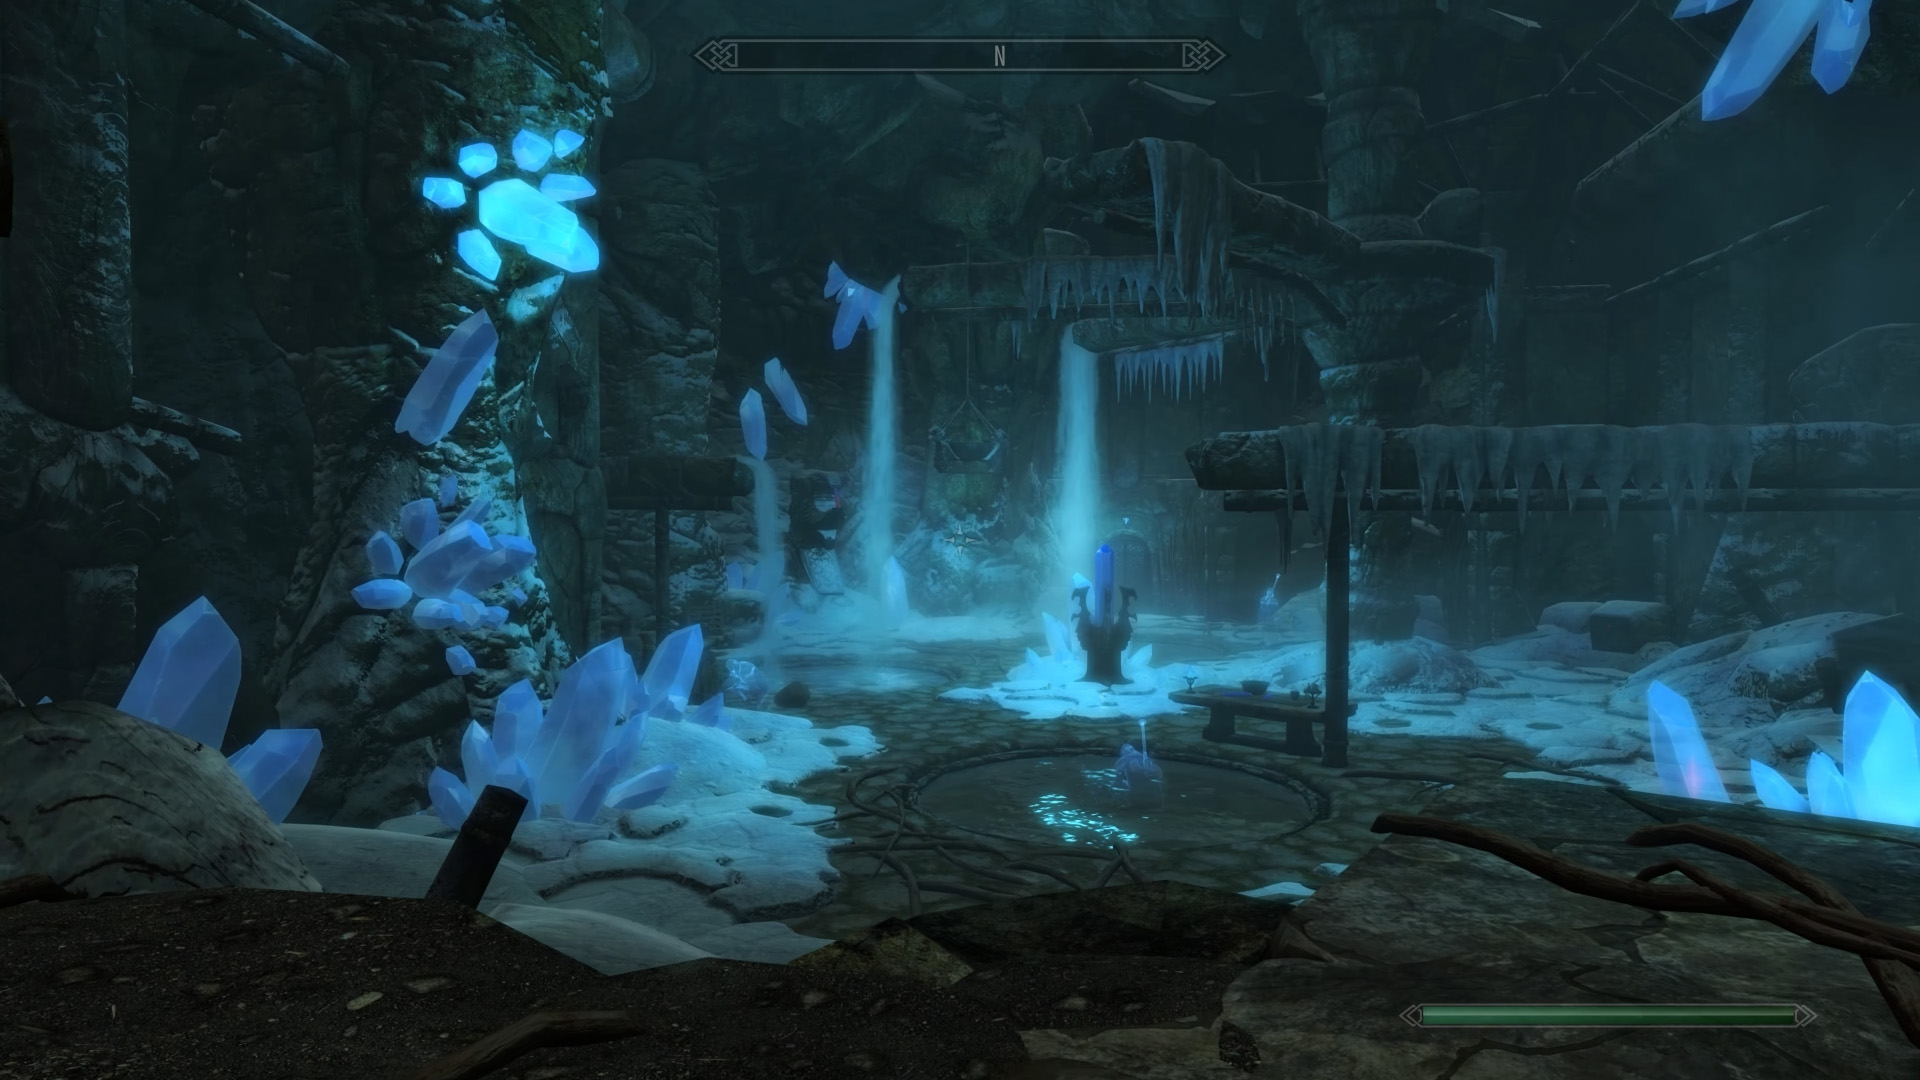
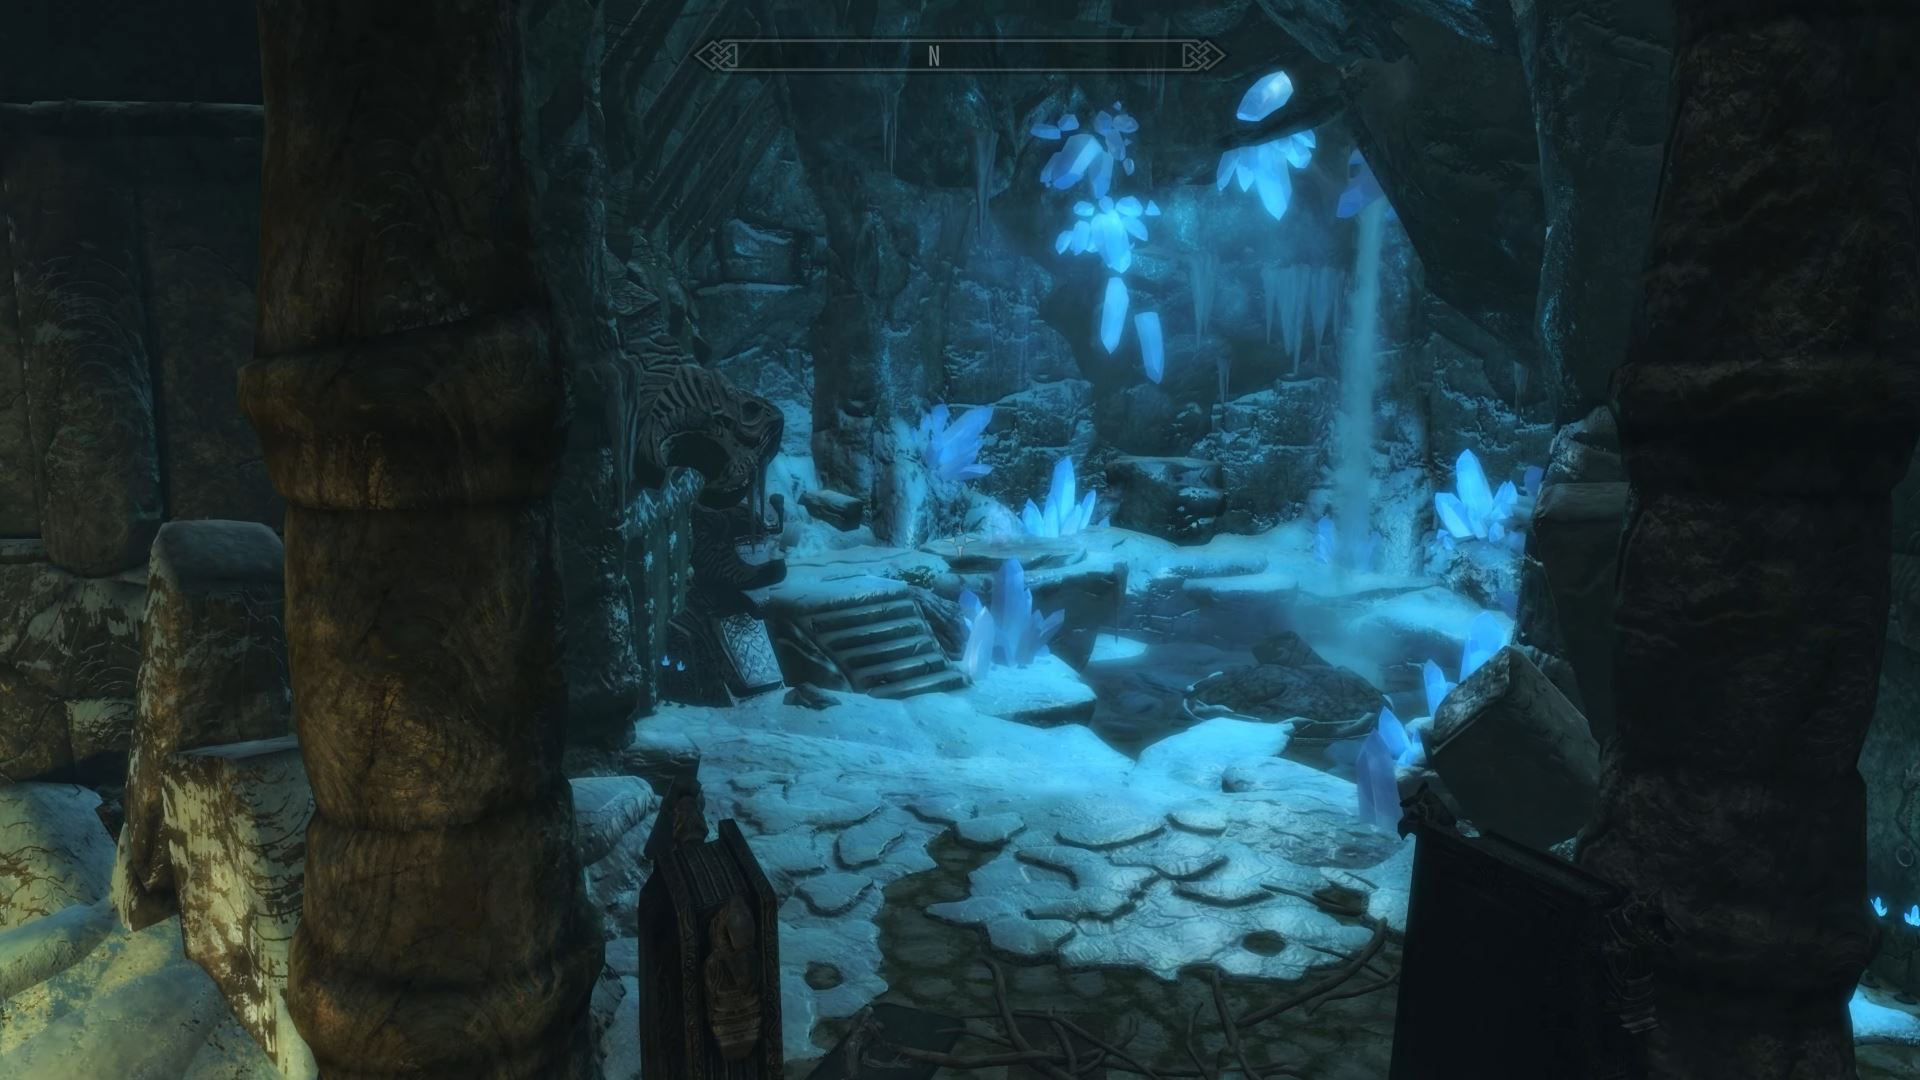
Once past the portal, the player will notice large crystal formations around the dungeon. Shortly ahead of the portal, they will see rocks fall on one of the crystals and destroy it, causing an Echo to emerge and attack the player. This is to hint to the player that Earthsong can be used to break some of the crystals.
The crystals that can be broken with Earthsong will have a shimmering energy inside of them.
After the player passes a pull-chain controlled gate, they will find themselves in a large room with a crystal blocking their path to the left. The player will need to use Earthsong on this to shatter the crystal.
Continuing ahead through a narrow winding tunnel, passing an optional treasure room, and then down through a second narrow winding tunnel, the player will emerge in a large room with several frozen walkways up in the air and a Recharge Crystal (like that seen in Sanctuary) near the center of the room.
After dealing with all of the Echoes in the room, the player will want to head to the left through a door. From there, they'll make their way through a series of stairwells with swinging axe traps. Eventually, they will reach a room with a Resonance Crystal mounted in a statue. Near it, they'll find a barricaded door which they will need to open and proceed through.
Through that barricaded door, the player will find themselves back in the room with the Recharge Crystal.
The player should then stand near the Recharge Crystal and use Unrelenting Force on the three Resonance Crystals mounted in the three statues, first the one on their right, then the one on their left, and finally the one through the door they just came through.
This will open the gate in front of them and allow them to proceed to a lift.
If the player uses the Cadence Rod, they could also switch to Whirlwind Sprint after using Unrelenting Force on the third crystal, which would allow them to make it past an additional timed gate just past the lift.
Activating the chain will lower the lift.
At the bottom of the lift, the player will proceed through a pair of doors and then find themselves in the boss chamber. An Echo will have a beam of energy connecting it to some Crystals on the ceiling.
Whenever the Echo Shouts at the player, it will follow it up with a high-damage beam of energy. The Echo will then connect itself to the ceiling once more to recharge.
After killing this Echo, the player will find the "Dragonslayer's Sword" they came for on its corpse.
The objective will update for the player to return to Sledrig.
¶ Walkthrough Videos
Hidden Path Playthrough (Dungeon Plus Optional Puzzles)
¶ Returning to Sledrig
The player can go back up the lift, and out another door at the top of the lift. Straight ahead of them, the path will loop back to the entrance of the dungeon.
Back in the first area, the player should turn to their right as they emerge from the previous load screen and activate the handle to the right of the stone doorway, which will lead them to the entryway chamber with the large head statue again.
On their way out, the player will be approached by Helvana.
Helvana will tell the player she is there to investigate something. The player can offer to help her, which will start an optional side quest, or tell her to forget it, and the player will be free to return to Sledrig.
Regardless of what the player chose to do with Helvana, they will eventually return to Sledrig in his Sanctuary. The Sanctuary will look different now, darker, as if things are more grim.
Sledrig will take the sword from the player, and the quest will end.
The next quest will then start immediately.