¶ Overview
This short Creation gives the player a taste of Doom in Starfield. Designed to feel immersive, it leans on multiverse ideas to keep things as grounded as possible within the lore of Starfield.
¶ Features
- Praetor Spacesuit – Based on the Praetor Suit worn by the Doomslayer in 2016’s Doom*. This is given to the player as part of the quest, and has a unique legendary effect that increases the player's movement speed.
- Super Shotgun – A powerful close-range shotgun with a unique legendary effect to heal you after killing foes. Based on the gun of the same name from Doom Eternal*. The player can find this during the quest.
- Crucible Blade – An energy sword with a unique sweeping strike effect that can hit multiple enemies per swing. Based on the poster child of Doom Eternal*. This is given to the player as part of the quest.
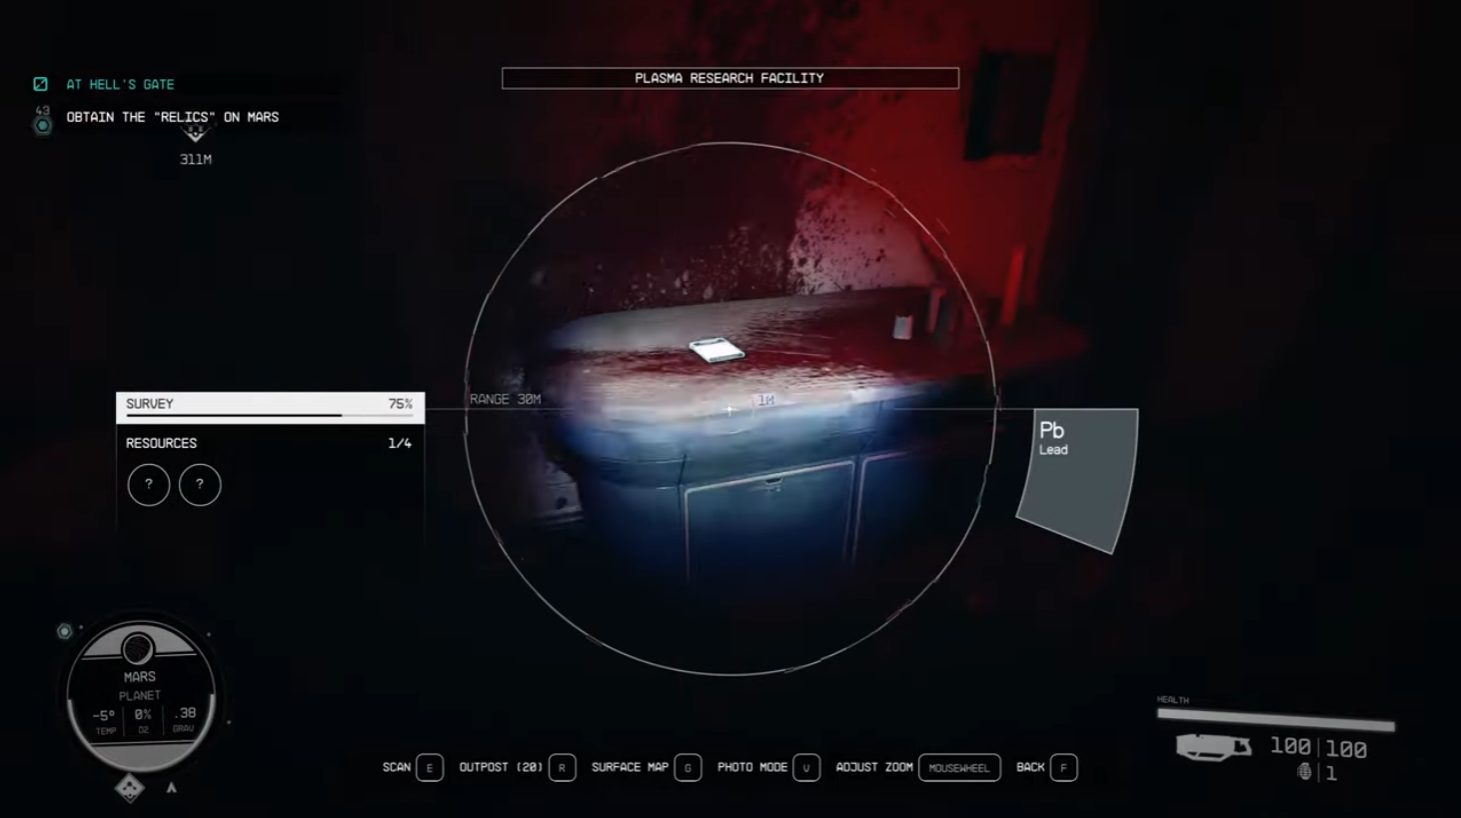
- Plushie Set – Six craftable and buildable plushies inspired by the in-game toy collectibles from Doom* and Doom Eternal*. The player can find these hidden throughout the Plasma Research Facility during the quest.
- Constellation Pack Skin – Reskin of the Constellation Pack to something more appropriate for the Slayer. This is unlocked after completing the quest.
¶ Quest Walkthrough
At Hell's Gate features a single short quest to immersively grant the player access to the various items.
¶ Starting the Quest
The quest starts by approaching any of the SSNN pillars in some of the major cities (New Atlantis, Cydonia, Neon, and Akila City).
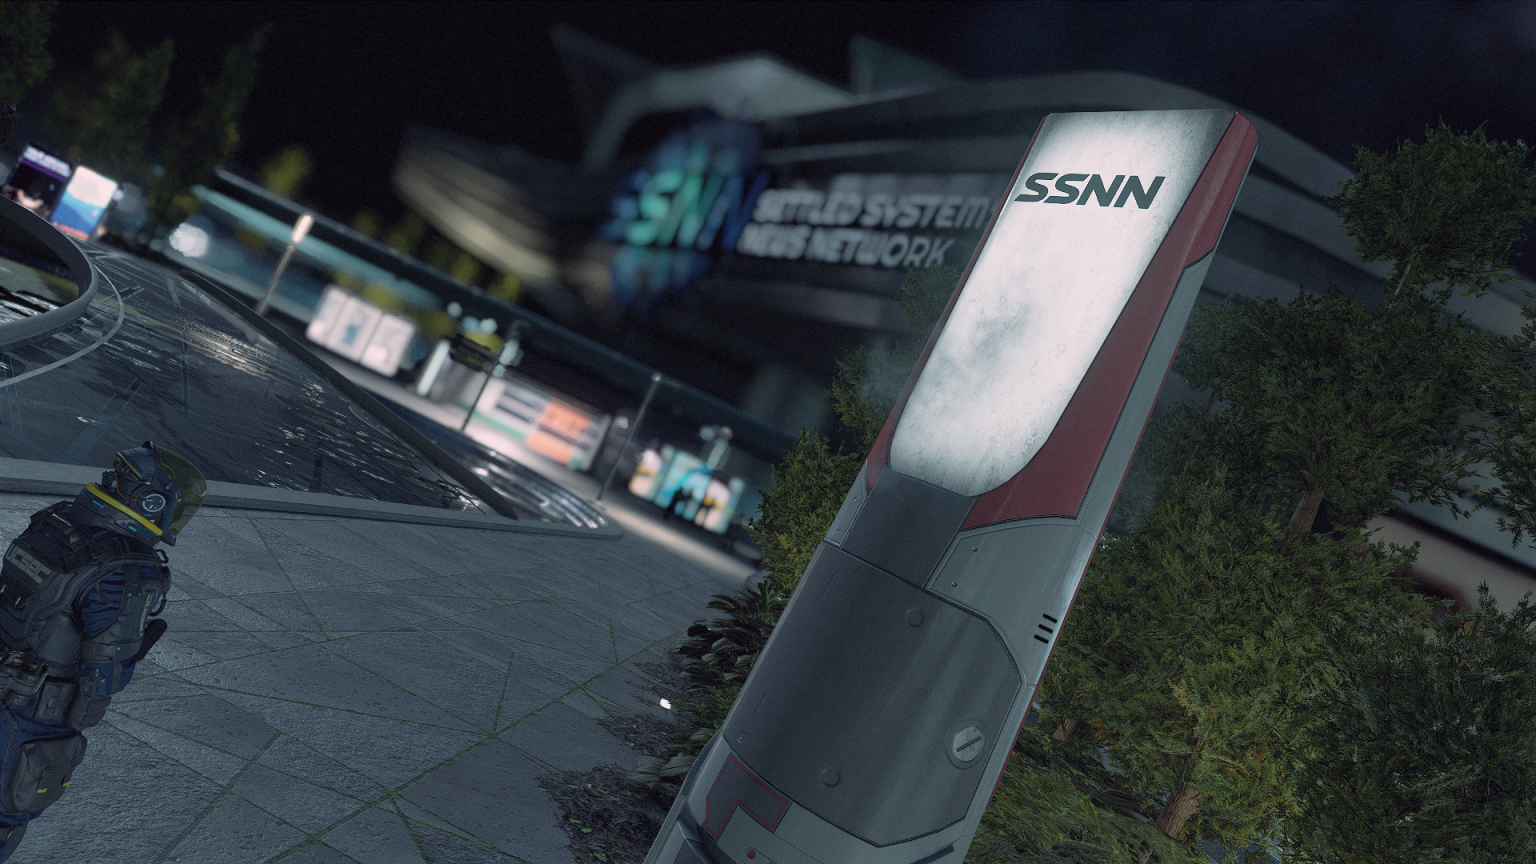
On approach, the pillar will begin shooting sparks and smoke, and a broken broadcast will play. The quest "At Hell's Gate" will start, and an objective will appear guiding the player to a location in space.
¶ Encounters
¶ Athena
The first encounter is with a ship named "Athena". The player cannot dock with this ship, and it will hail them as they approach. Accepting the hail will result in speaking to the ship's computer, which will allow the player to listen to a series of recordings.
After listening to the entry labeled "Final Distress Call", the quest will advance, and the ship will be destroyed. The next objective takes the player to another location in space.
¶ Perseus
The second location is a ship named "Perseus". This time, the player can only dock with the ship, not hail it.
On the ship, there is no gravity and the player will find corpses of the crew and a strange alien creature.
As the player nears the cockpit, the will find the Super Shotgun on a navigation console.
Inside the cockpit, the pilot, Mitch, is still alive mumbling to himself and he immediately starts a dialogue with the player as they approach.
Speaking to Mitch can result in a variety of outcomes depending on the player’s choices and success at a Persuasion mini-game.
- [Persuade] - choosing this option can result in several results
- Failing the persuasion results in Mitch handing the player a note and the "Mark of the Slayer" miscellaneous item, then disappearing into a series of particle effects.
- Passing the speech check results in Mitch handing the player a note and then staying in the cockpit. As the player heads to their ship, they will hear a gunshot. If the player were to return, they would find Mitch floating lifeless.
- There is a special ending if the player chose and passed the +6 option with “cleave and rend” in it, where Mitch instead grav jumps away after the player’s ship undocks.
- [Attack] - This option results in combat.
- The final option, which starts with "I think I made a mistake", also results in combat.
If the player ended up in combat with Mitch, his loot will include the note and miscellaneous item normally received from the Persuade path.
Receiving the note updates the objective to tell the player to retrieve relics on Mars.
¶ Plasma Research Facility
The objective marker will lead the player to a Plasma Research Facility on Mars. The only entrance is through the front door large airlock.
Activating the inner airlock switch will trigger a PA announcement.
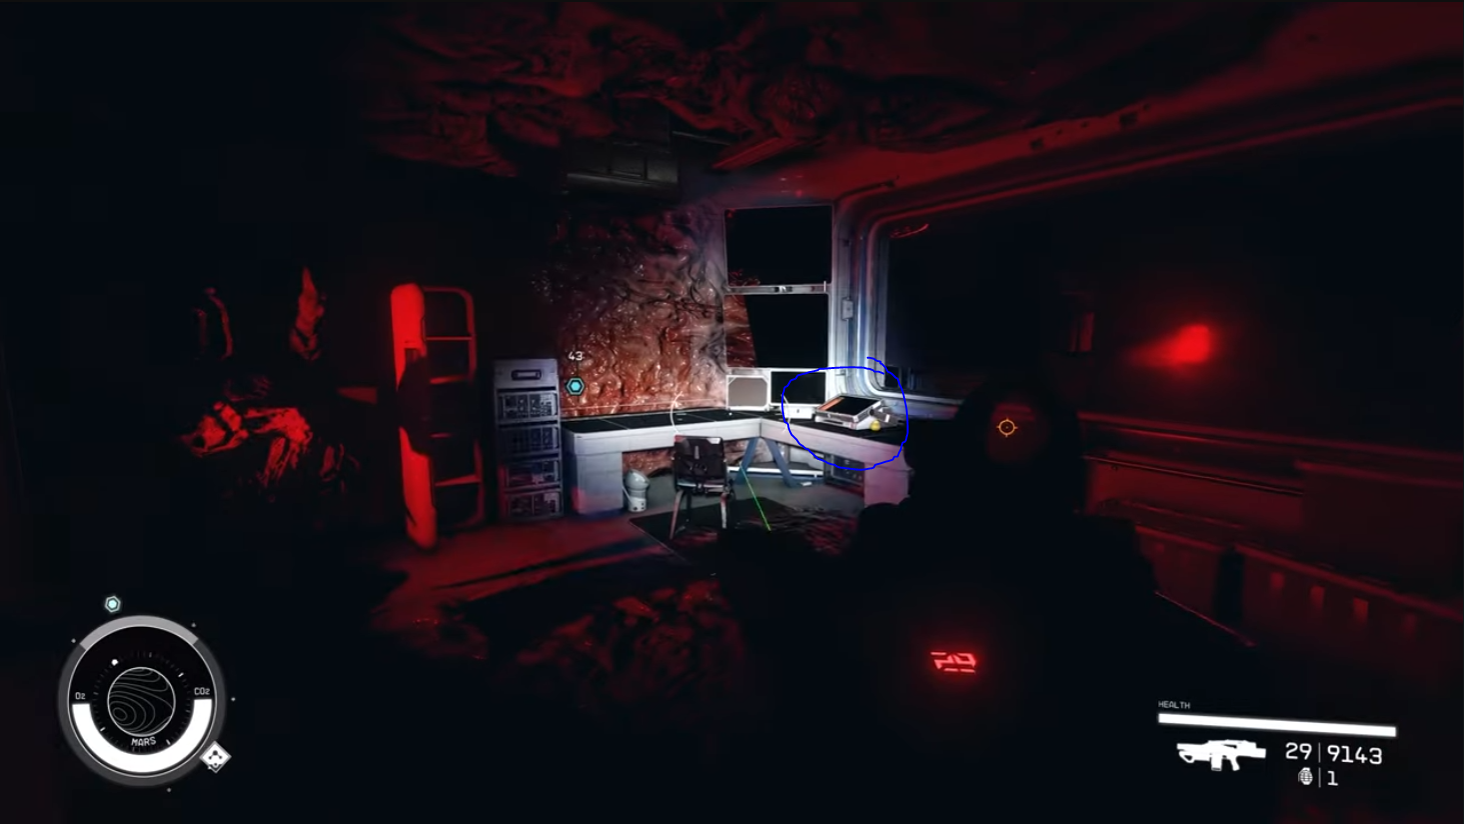
Inside the airlock, the player will find the facility exceptionally dark, encouraging them to use their flashlight. The implied lift that players would expect to find from similar facilities will be non-functional, so the player will need to use the stairs.
The player will eventually arrive in what was formerly a cafeteria. On a pillar in this room is a password-locked terminal that will allow them to pass the locked door blocking the stairs towards the Crew Quarters area. The password can be found on a slate titled "Cultist Password" in the same room.
Within the Crew Quarters, the player will find another small encounter with cultists. If they search around the room, they will find the first of a series of text slates, titled "Cultist Note 01", which describes how a new cult member was drawn here. This series will tell the story of their indoctrination.
The player will eventually reach another locked door. This one will be controlled by a nearby terminal which is password-locked to the same password used to enter the Crew Quarters. This terminal will have some lore entries about one of the cultist’s dreams, as well as the door controls. Proceeding through that door will be another large combat encounter in a warehouse with cultists.
After clearing this warehouse area, they will find a hallway strewn with strange alien material and large bones on either side, from here on the facility will look like it is overtaken by some sort of alien biomatter. In the room labeled Storage, they will find the second note: "Cultist Note 02".
In the next section, they will find a few more cultists in a lab-like setting. In here the player will find the third note: "Cultist Note 03".
At the top of the stairs, in a side-room, a terminal labeled "Herald Munro's Log" will have some additional lore from the cult leader, as well as the option to unlock the door to the Comm Center which is just outside this room to the right.
Inside the Comm Center, the map marker will update to rename the location “Cultist Base”. There, the player will find the cult leader, "Herald Munro", and a few lackeys. The fourth and final note, "Cultist Note 04", will be in one corner of this room.
The "Praetor Suit" is located in the center of some stone blocks, highlighted by a large red rune. The suit’s activation will be labeled "Equip". Activating it will trigger a sound effect and visual effect implying the player is having some sort of vision. The "Mark of the Slayer" will be removed from their inventory.
After they are released from this "vision", they will be wearing the suit and have the Crucible Blade equipped as well.
The player cannot activate the suit while in combat, but they could stealth over to it if they like. The cultists will still be there if they do so and would still engage the player in combat after the vision.
¶ Completing the Quest
At this point, emergency lighting kicks in throughout the facility, a Doom-inspired music track plays, and strange creatures begin warping in and attacking the player. They are given the objective to escape the facility.
During this sequence, killing the creatures is not required, but more will continue to spawn in as the player progresses and they will pursue the player if left alive.
When the player finally reaches the lower level, a boss Terrormorph variant will warp in and attack. This creature must be defeated.
Once the boss is defeated, the remaining creatures will warp out and an announcement will tell the player the lockdown has been lifted.
They can now activate the button to open the door and leave the facility.
The Praetor Suit does not come with a pack by default, so players who were in a Starborn suit will need to equip a pack as they exit the facility, or switch to their previous gear to avoid receiving the debuff from failure to wear a full spacesuit.
On their way out, the player's vision will blur slightly, and a voice will fill their head speaking of the victory only being temporary. Afterwards, the quest completes.